Connectors and MCP | Admin guide

This guide for administrators explains how to set up Connectors and Model Context Protocol (MCP) in Theta Assist.

See also: 

  • Adding connectors to your assistant
  • Guide to connectors for end users

Connectors and MCP enable assistants to interact with external services like Microsoft 365 and Google Workspace as well as custom MCP servers. This can unlock smarter workflows, more meaningful insights and AI actions that are grounded in your business processes and data.


In this guide...

  • Overview
  • Supported connectors
    • Microsoft 365 Connectors
    • Google Workspace Connectors
    • Other Connectors
  • Admin Guide
    • Setting Up OAuth Authentication
    • Configuring Connectors
    • Setting Up MCP Servers
    • Microsoft 365 Connectors Setup
    • Access profiles
    • MCP logs

Overview

Theta Assist supports two methods for extending assistant capabilities:

  1. Built-in Connectors: Pre-configured integrations with popular services that follow the OpenAI Connectors specification - plug and play to get up and running fast
  2. Model Context Protocol (MCP): Industry-standard protocol for connecting assistants to external data sources and tools - for deeper or custom integrations

Both methods support: 

  • OAuth 2.0 authentication for secure, delegated access
  • Static API key authentication for simpler services
  • Granular approval controls for tool execution
  • User-level and system-level authentication

Supported connectors

Theta Assist includes built-in support for the following connectors, documented at OpenAI MCP & Connectors. Each connector provides read-only access to data the authenticated user already has permission to access.

Microsoft 365 Connectors

  • Microsoft Teams: Read Teams, channels, and basic properties
  • Outlook Calendar: Read calendar events and availability
  • Outlook Email: Read inbox messages and email metadata
  • SharePoint: Access OneDrive and SharePoint sites and documents (read-only)

Google Workspace Connectors

  • Gmail: Read Gmail messages and metadata
  • Google Calendar: Read calendar events
  • Google Drive: Access Drive files and folders (read-only)

Other Connectors

  • Dropbox: Access Dropbox files and folders (read-only)


Admin Guide

Administrators are responsible for:

  1. Configuring OAuth applications with service providers (Microsoft, Google, Dropbox)
  2. Enabling connectors and setting approval policies
  3. Creating global MCP server configurations
  4. Managing authentication credentials securely

Setting Up OAuth Authentication

Before connectors can be used, you must configure OAuth authentication for each service provider.

Prerequisites

  • Administrative access to the service provider (e.g., Azure Entra ID, Google Cloud Console)
  • Theta Assist admin permissions

Step 1: Navigate to Auth Configurations

  1. Log in to Theta Assist as an administrator
  2. Navigate to Admin → Auth Configurations
  3. Click + Add Auth


Step 2: Add OAuth Config

Basic Information for a typical setup

  • Configuration Name: Descriptive name (e.g., "Microsoft 365 Production") 
  • Provider: Select provider (Microsoft, Google, Dropbox, or Other)
  • Description (optional)
  • OAuth Server URL: add the URL of your own OAuth server
  • Click Discover OAuth Endpoints

Depending on your specific OAuth server setup and the endpoints discovered (or not), follow the relevant guidance below. You may need to provide additional details.

OAuth 2.0 Settings:

For Standard OAuth 2.0 (recommended): 

  • Authorization URL: OAuth authorization endpoint 
  • Token URL: Token exchange endpoint 
  • Client ID: Application/Client ID from provider
  • Client Secret: Application secret (encrypted at rest) 
  • Scopes: Space-separated list of OAuth scopes 
  • Tenant ID: (Microsoft only) Azure AD tenant ID

For Discovery-based OAuth:

  • Enable Use OAuth Discovery
  • Provide Discovery Endpoint (e.g., https://login.microsoftonline.com/{tenant}/.well-known/oauth-authorization-server)
  • Enable Use Manual Endpoint Override to manually specify URLs even with discovery enabled

For Dynamic Client Registration (RFC 7591):

  • Enable Supports Dynamic Registration
  • Provide Registration Endpoint - System will automatically register and cache client credentials

For Static API Key authentication:

  • Leave OAuth fields empty
  • Enter Static Authorization value (API key) - This bypasses OAuth entirely

Step 3: Save Configuration

Click Save to store the authentication configuration. Secrets are automatically encrypted using AES-256 encryption.


Configuring Connectors

Once OAuth authentication is configured, enable and configure individual connectors.

Step 1: Navigate to Connector Settings

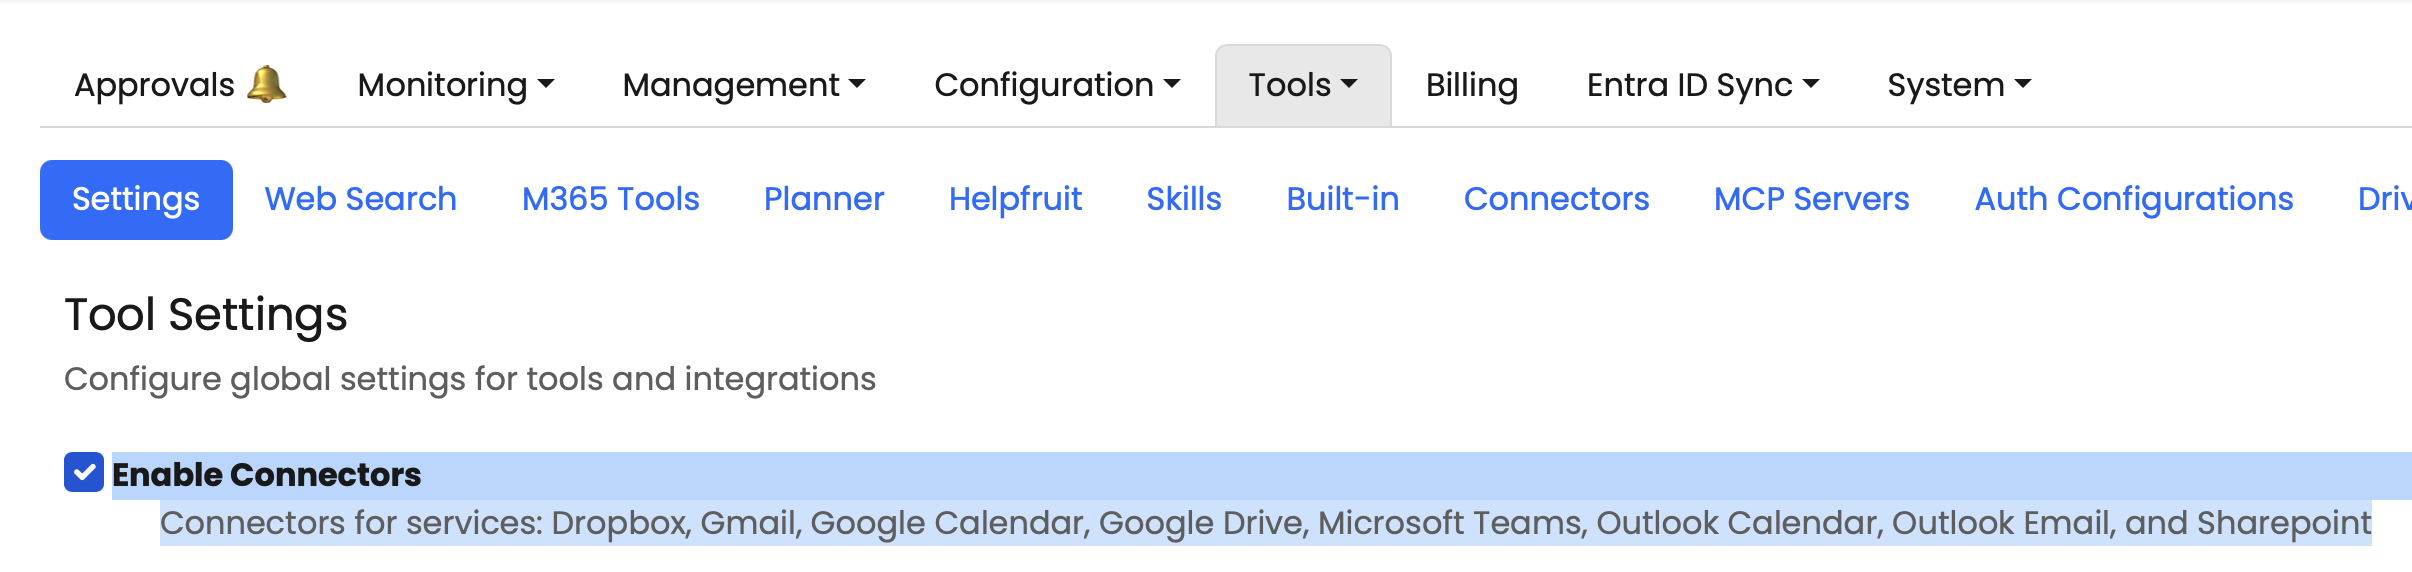
  1. Go to Admin → Tools →Connectors
  2. View the list of 8 built-in connectors


Step 2: Configure each connector

For each connector you want to enable:

  1. Select Auth Configuration: Choose the appropriate OAuth configuration (filtered by provider)

    • Microsoft connectors require Microsoft auth config
    • Google connectors require Google auth config
    • Dropbox requires Dropbox auth config

  2. Add Additional Instructions (optional): Custom instructions added to the system prompt when this connector is used. These give the AI guidance about how to make best use of the connectors, and improve reliability of results. Microsoft connectors come with default instructions - you can edit these if you wish.

  3. Set Approval Policy:
    • Never require approval: Tools execute automatically (faster, less control)
    • Always require approval: User must approve each tool call (safer, more control)

  4. Review Available Tools: View the list of tools and required OAuth scopes for each connector

Step 3: Save Changes

Click Save Settings to apply connector configurations. Assistants can now use these connectors.


Setting Up MCP Servers

MCP servers provide custom integrations beyond built-in connectors. Admins can create global MCP servers available to all assistant authors.

Step 1: Navigate to MCP Settings

  1. Go to Admin → Tools → MCP Servers
  2. Click Add MCP Server

Step 2: Configure MCP Server

Basic Configuration: 

  • Server URL: MCP endpoint URL
  • Server Label: Unique identifier (automatically sanitized, e.g., my_custom_api) 
  • Server Name: Display name for users 
  • Description (optional)
  • Additional instructions (optional) - specific guidance to help the AI use this tool effectively

Authentication (Optional): 

  • Auth Configuration: Select an OAuth config if the MCP server requires authentication - Leave empty for public MCP servers

Approval Policy: 

  • Never require approval: Tools execute automatically (faster, less control)
  • Always require approval: User must approve each tool call (safer, more control)

Additional Settings: 

  • Allowed Tools: Optionally restrict which tools from the server can be used (JSON array of tool names) 

Step 3: Save and Distribute

Click Add Server to create the global MCP server. Assistant authors can now enable it for their assistants.


Microsoft 365 Connectors Setup

Setting up Microsoft 365 connectors requires creating an Azure Entra ID (formerly Azure AD) App Registration. Below is a detailed change management template you can adapt for your organization.

App Registration Requirements

Configuration Summary: 

  • Name: "Theta Assist – Connectors (Production)" 
  • Type: Single tenant (Accounts in this organizational directory only) 
  • Authentication: Web application with redirect URI(s) 
  • Permissions: Delegated, read-only Microsoft Graph permissions 
  • Client Secret: Required, store in secure secret management system

Required Delegated Permissions

Configure the following Microsoft Graph Delegated permissions (read-only):

Authentication & Identity:  

  • openid - Sign in and read user profile 
  • profile - Read user's basic profile 
  • offline_access - Maintain access to data
  • User.Read – Read the signed-in user's profile
  •  

Outlook Email: 

  • Mail.Read - Read user mail

Outlook Calendar: 

  • Calendars.Read - Read user calendars

Contacts:

  • Contacts.Read - Read user contacts (if needed)

OneDrive & SharePoint: 

  • Files.Read - Read user files 
  • Sites.Read.All - Read items in all site collections (delegated)
  • Sites.Read.All – Read items in all site collections (delegated)

Microsoft Teams: 

  • Team.ReadBasic.All - Read the names and descriptions of teams 
  • Channel.ReadBasic.All - Read the names and descriptions of channels
  • Chat.Read – Read user chat messages
  • ChannelMessage.Read.All – Read all channel messages

Important: These are delegated permissions, meaning the application can only access data the signed-in user already has permission to access. The app has no elevated privileges.

Step-by-Step App Registration Process

1. Create App Registration 

  1. Navigate to Azure Portal → Microsoft Entra ID → App registrations 
  2. Click New registration 
  3. Enter name: "Theta Assist – Connectors (Production)" 
  4. Select Accounts in this organizational directory only (Single tenant)
  5. Add Redirect URI: - Type: Web - URI: https://your-theta-assist-domain.com/api/mcp-oauth/callback 
  6. Click Register

2. Record Application Details

  • Copy Application (client) ID
  • Copy Directory (tenant) ID
  • Save these for Theta Assist configuration

3. Configure Authentication 

Navigate to Authentication blade

Under Platform configurations → Web:

  • Confirm redirect URI
  • Set Front-channel logout URL (if required)

Under Implicit grant and hybrid flows:

  • Ensure Access tokens and ID tokens are unchecked (disabled)

Under Advanced settings:

  • Set Allow public client flows to No

Click Save

4. Create Client Secret 

  1. Navigate to Certificates & secrets blade
  2. Click New client secret 
  3. Description: "ThetaAssist Prod {YYYY-MM-DD}"
  4. Expiry: Select per your organization's policy (12 months recommended) 
  5. Click Add 
  6. Copy the secret value immediately (it won't be shown again)
  7. Store the secret in your approved secret management system (e.g., Azure Key Vault)

5. Configure API Permissions 

  1. Navigate to API permissions blade
  2. Click Add a permission 
  3. Select Microsoft Graph 
  4. Select Delegated permissions 
  5. Add the permissions listed above: - openid, profile, offline_access - Mail.Read - Calendars.Read - Contacts.Read - Files.Read - Sites.Read.All - Team.ReadBasic.All - Channel.ReadBasic.All
  6. Click Add permissions 
  7. Click Grant admin consent for {Your Organization}
  8. Confirm by clicking Yes

6. Configure Theta Assist

  • Log in to Theta Assist as administrator
  • Navigate to Admin → Tools → Auth Configurations 
  • Click +Add Auth 
  • Fill in: 
    • Name: "Microsoft 365 Production" 
    • Provider: Microsoft 
    • Tenant ID: {Your tenant ID from step 2}
    • Client ID: {Your application ID from step 2}
    • Client Secret: {Secret value from step 4}
    • Authorization URL: https://login.microsoftonline.com/{tenant-id}/oauth2/v2.0/authorize 
    • Token URL: https://login.microsoftonline.com/{tenant-id}/oauth2/v2.0/token 
    • Scopes: openid profile offline_access Mail.Read Calendars.Read Files.Read Sites.Read.All Team.ReadBasic.All Channel.ReadBasic.All
  • Click Save

7. Enable Microsoft Connectors

  • Navigate to Admin → Tools → Connectors
  • For each Microsoft connector (Teams, Outlook Calendar, Outlook Email, SharePoint):
    • Select the "Microsoft 365 Production" auth configuration
    • Set approval policy (recommended: "Always require approval" for initial rollout)
    • Add any additional instructions 
  • Click Save

Access profiles

Control who can use specific MCP server(s) by assigning them to access profiles. Add users/groups to the access profile and then assign MCP servers to use the profile. Learn more.


MCP logs

Enable MCP Activity logs if you are looking to debug MCP calls: