Sync SharePoint files with assistant files using Drive Sync
Drive Sync lets you keep an assistant up to date with files stored in SharePoint, without manually uploading them each time. Once set up, Theta Assist checks the selected SharePoint location on a schedule and updates the assistant’s files automatically.
In this article
Before you start
- You need to be the assistant owner or have edit access.
- Drive Sync must be set up by a system admin for your organisation.
- You need access to the SharePoint site and document library you want to sync.
If you cannot see the Drive Sync tab, ask your system admin to complete the organisation set-up first.
Create a Drive Sync
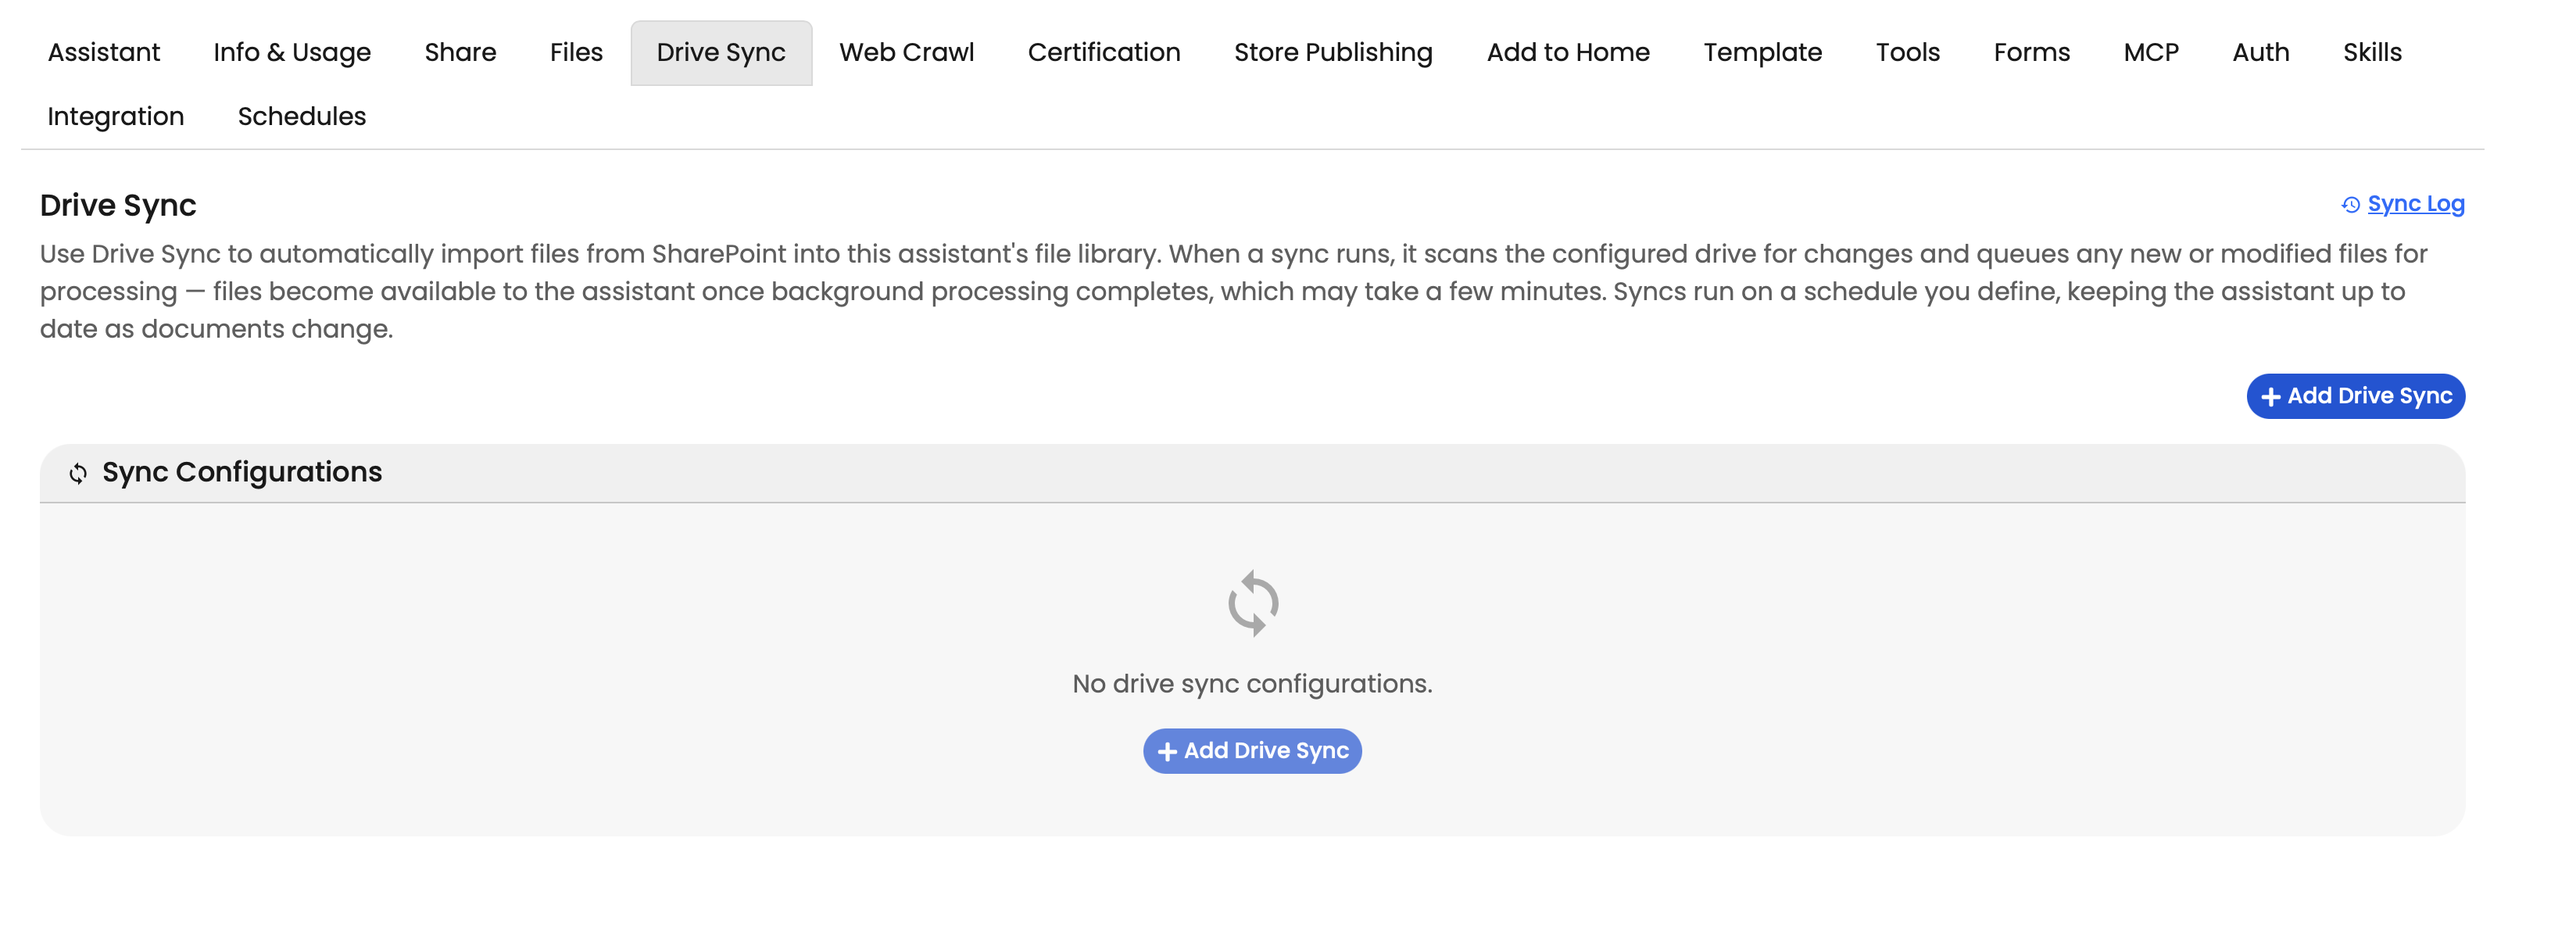
Open the Drive Sync tab
- Open the assistant you want to update.
- Go to the Drive Sync tab.
- Click +Add Drive Sync
Authenticate with Microsoft
- Check the authentication status at the top of the page.
- If it shows Not authenticated, click Authenticate with Microsoft.
- Complete the Microsoft sign-in steps.
If your authentication has expired, click Re-authenticate before saving or running a sync.

Select the SharePoint site and document library
- Use the Site search box to find the SharePoint site you want to sync.
- Search by site name or site URL.
- Select the correct site.
- Within that site, select the Drive you want to sync.
Select a folder if needed
- Browse into a folder if you only want to sync part of the drive.
- Leave the folder blank to sync from the drive root.
If you select a folder, only that folder is included, unless Include subfolders is turned on (in the What to sync section).

Use Clear to reset the site, library, and folder selection.
Important: After you save the configuration, you cannot change the source location. If you need a different site, library, or folder, create a new configuration.
Name the sync
- Review the auto-filled Name.
- Change it if needed so it is easy to identify later.
What to sync
You can limit which files are synced.
File extensions
Enter a comma-separated list such as pdf,docx,pptx.
Leave this blank to include all supported file types.
Include subfolders
Turn on Include subfolders to sync files from nested folders as well.

Set the schedule
Choose how often the sync should run:
- Daily
- Weekly
- Monthly
Specify the time of day to sync, then choose the timezone.
Save or run now
- Click Save to create the configuration and wait for the next scheduled run.
- Click Save & sync now to create the configuration and start the first sync immediately.
Manage an existing sync
On the edit page, you can change:
- the sync name
- whether the sync is enabled
- file extensions included
- whether subfolders are included
- the schedule
- the timezone
You cannot change the SharePoint site, document library, or source folder after saving.
Pause scheduled syncing
Uncheck Scheduled sync to pause scheduled syncs without deleting the configuration.
You can still use Sync now while the configuration is disabled.
Run a sync manually
Click Sync now to check SharePoint immediately and update the assistant’s files.
This will:
- add new files
- update changed files
- remove files that are no longer in the SharePoint source or no longer match the filter
Delete a configuration
Click Delete to remove the sync configuration.
Deleting a configuration also removes the files that were synced by that configuration from the assistant’s file library.

Check the Sync Log
The Sync Log shows what happened during each file sync operation.
You can open it from:
- Drive Sync
- Files
- Integrations
- Web Crawl
What you can see
Each row shows:
- File name
- Type — upload or delete
- Status — pending, processing, success, failed, or skipped
- Created
- Completed
Expand a row to view more detail, including content type, source identifier, source URL, and processing log.
Filter the log
You can filter by status, type, and date range. Use Reset to clear all filters.
Supported file types
Drive Sync only adds supported assistant file types.
Supported file types:
.c.cs.cpp.doc.docx.html.java.json.md.pdf.php.pptx.py.rb.tex.txt.css.js.sh.ts.vtt
These file types are not supported as assistant files through Drive Sync:
- Excel files such as
.xlsx - CSV files
- image files
- video files
- zip files
Troubleshooting
I cannot see the Drive Sync tab
Ask your system admin to check that Drive Sync has been set up for your organisation.
Microsoft authentication expired
Click Re-authenticate, complete the sign-in flow, then run the sync again.
A file is missing from the assistant
Check that:
- the file is in the selected SharePoint library or folder
- Include subfolders is turned on if the file is in a nested folder
- the file type is supported
- the Sync Log does not show the file as skipped or failed
A file did not update
Check the next scheduled sync time. If needed, open the configuration and click Sync now.
I need to sync a different folder
Create a new Drive Sync configuration for the new location. You cannot edit the source location after saving.
Permissions
| Role | What they can do |
|---|---|
| System admin | Configure the Microsoft auth connection for Drive Sync |
| Assistant editor | Create, edit, delete, enable, disable, and run Drive Sync configurations; view the Sync Log |
| Assistant viewer | View the Sync Log only |