Installation guide
How to install Theta Assist on your Azure tenant - a step-by-step guide.
in this article...
Choosing a plan
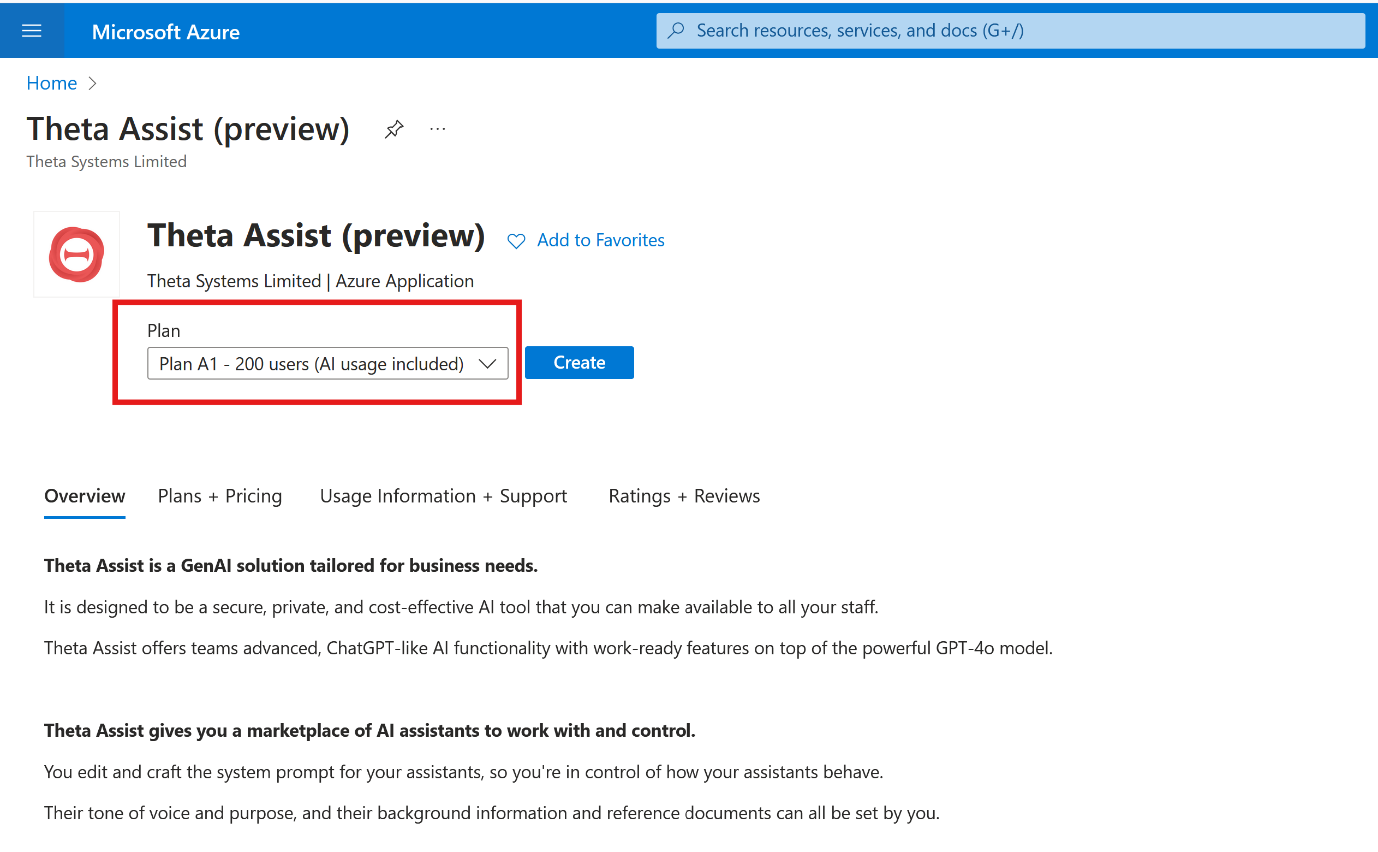
To get started, choose your plan from the offer page in the Microsoft Azure Marketplace.
There are 4 plans to choose from. Our 'A plans' include Open AI usage (capped) and require no further special configuration.
Our 'B plans' are 'BYO' plans require you to either:
- Bring your own Open AI API Key – see docs here on how to generate this from your Open AI account
- Deploy your own instance of Azure Open AI Service and supply the endpoint and key – see docs here on how to do this
Installing Theta Assist
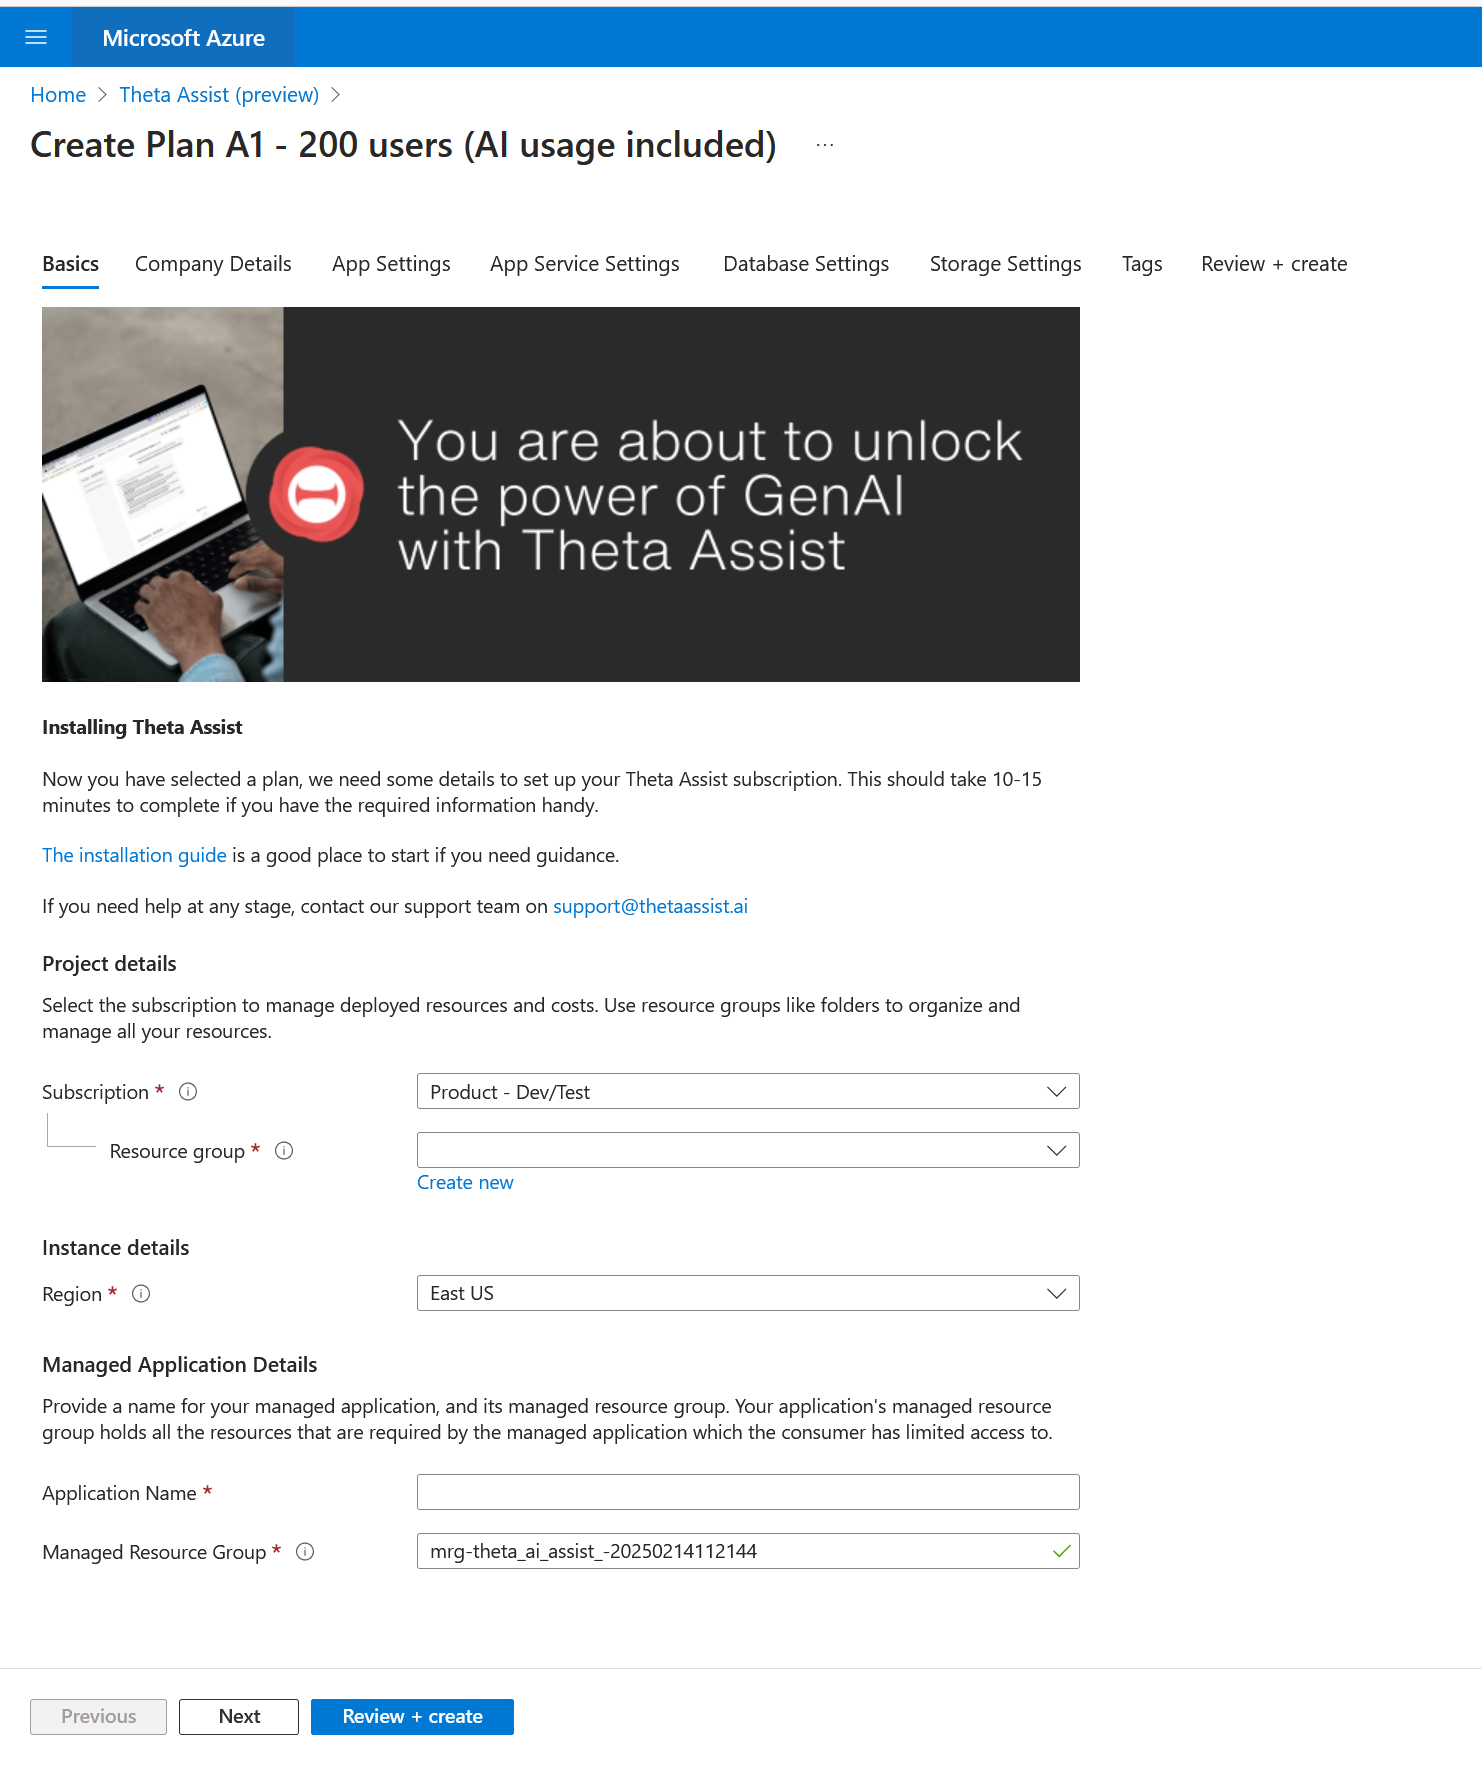
Follow the steps in the installation wizard, supplying all necessary information.
The deployment of Theta Assist will take approx. 10-15 mins to complete. Once complete, you can access your installation at https://{your-subdomain}.thetaassist.ai
Installation considerations
The following key things are of note when completing the installation details.
Subdomains
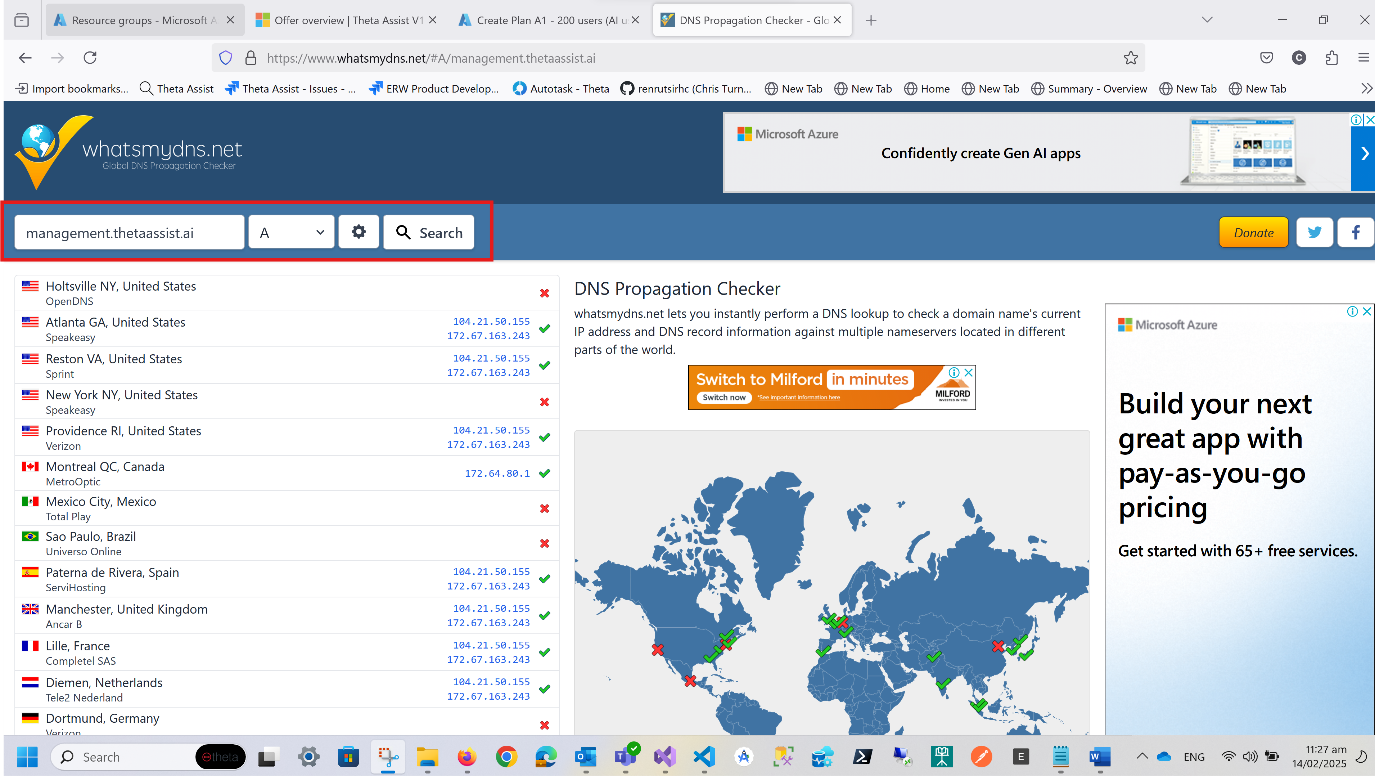
- When choosing a subdomain, make sure not to use a subdomain of thetaassist.ai that is already in use. If you do this, your deployment of Theta Assist will fail.
- Use your company or organisation name. You can check if your subdomain choice is already in use by adapting this link to suit: https://www.whatsmydns.net/#A/{your-subdomain}.thetaassist.ai
Your login domain must be the EntraID domain your organization uses to login to Microsoft services.
System administrator
You must supply at least one person to be a system administrator. This person will have access to the admin pages which allow managing users, setting up branding and configuring settings. The system administrator can also grant system administrator privileges to other users.
App service plans
By default, Theta Assist uses a B1 app service plan. This plan is chosen for cost optimization, but it does not support staging slots. This means that when updates are available, your instance of Theta Assist will restart itself resulting in a short window of down time – approx. 2 mins.
If you do not want downtime when updates are installed, select the ‘Use zero downtime deployments’ checkbox during installation. The minimum app service plan for this setting is a P0V3 which will be deployed with staging slots and use a slot swap mechanism to achieve seamless deployments.
Resource sizing & redundancy
When choosing resource sizing, in most cases, it will be safe to leave the default settings in place. If you anticipate heavy usage by your organization, you can choose to scale up resources. If performance becomes an issue after deployment due to usage volume, you can contact support here and we can scale these resources for you.
When choosing redundancy for storage and database, please bear in mind that if you choose Local or Zone redundancy, this is at your own discretion.
Tags
Due to limitations in Azure’s Managed Applications which we make use of for your deployment of Theta Assist, if your Azure directory has tag policies in place that require tags to be present at creation of resource groups, your deployment of Theta Assist will fail as we are unable to add tags to the Managed Resource Group through this setup UI.
In this scenario, you can either:
- Temporarily turn off this tag policy.
- Contact Support for a custom bicep template to deploy your instance of Theta Assist from which allows adding tags to this Resource Group.
Cancellation
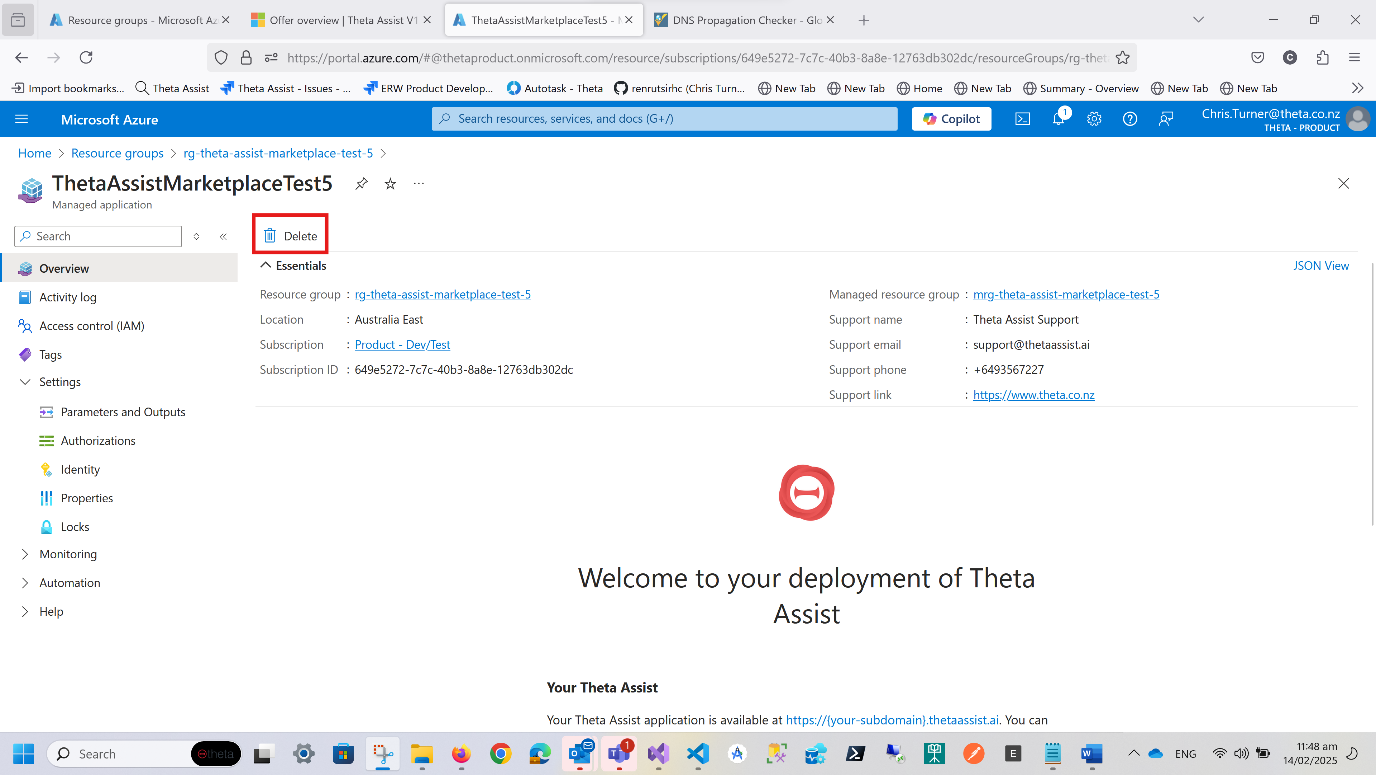
You can remove your deployment of Theta Assist at any time by finding your Managed Application resource in Azure Portal and pressing the delete button. This will delete the application including all resources and data. Data will not be recoverable should you choose to do this.