Prompt buttons
Prompt buttons help users start or continue a conversation with one click. You can use them to suggest common actions, save time, and guide users towards the best next step.
This article explains how to add starter prompt buttons and follow-on prompt buttons in Theta Assist, and how each behaviour setting works.
In this article
What prompt buttons do
Theta Assist supports two types of prompt buttons:
Starter prompt buttons
These appear at the start of a new conversation. They help users begin with a suggested prompt instead of typing from scratch.
You can add up to 5 reusable starter prompt buttons for each assistant.
Follow-on prompt buttons
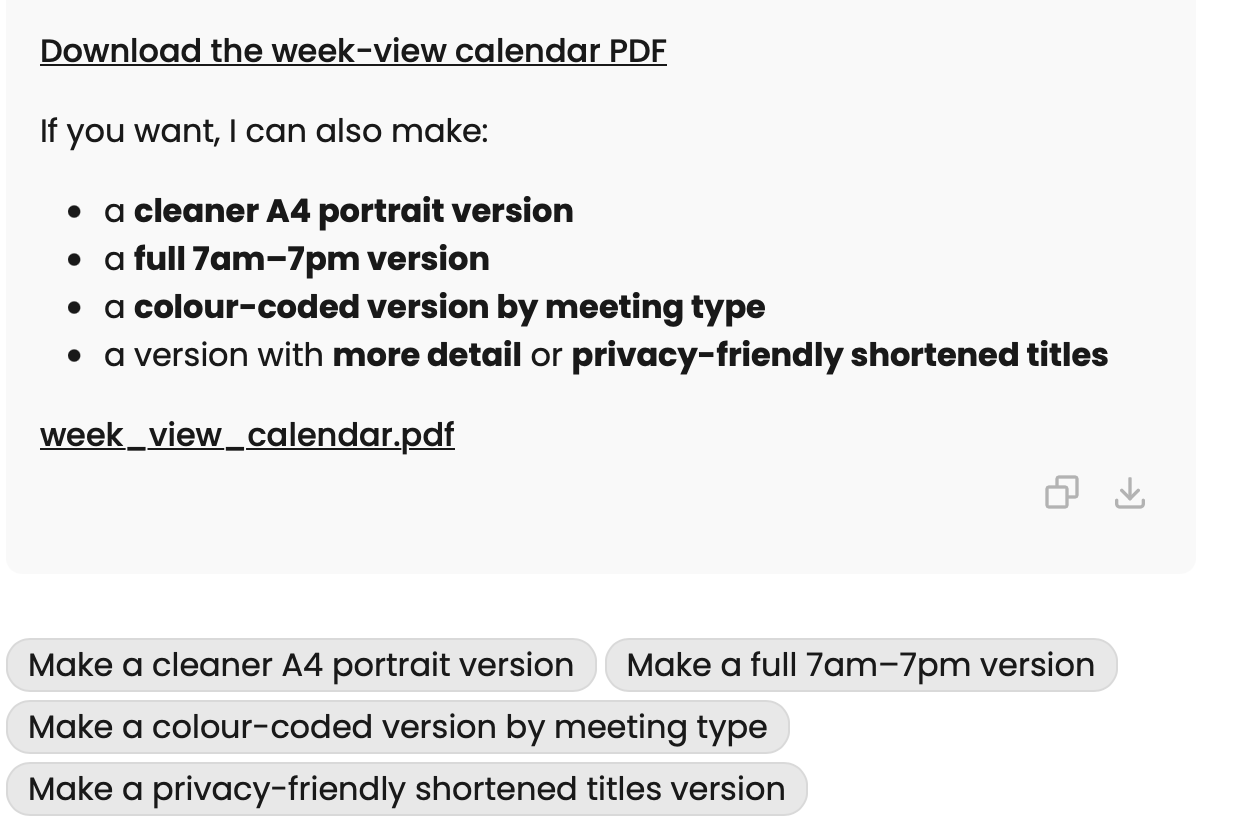
These appear after an assistant response. They help users continue the conversation with suggested next steps.
Add starter prompt buttons
Use starter prompt buttons when you want to give users a simple way to begin.
To add a starter prompt button
- Open the assistant you want to edit.
- Go to the Prompt buttons section.
- In Starter prompt buttons, click Add prompt button.
- Complete the fields for the button.
- Repeat this if you want to add more buttons, up to a maximum of 5.
- Click Save.
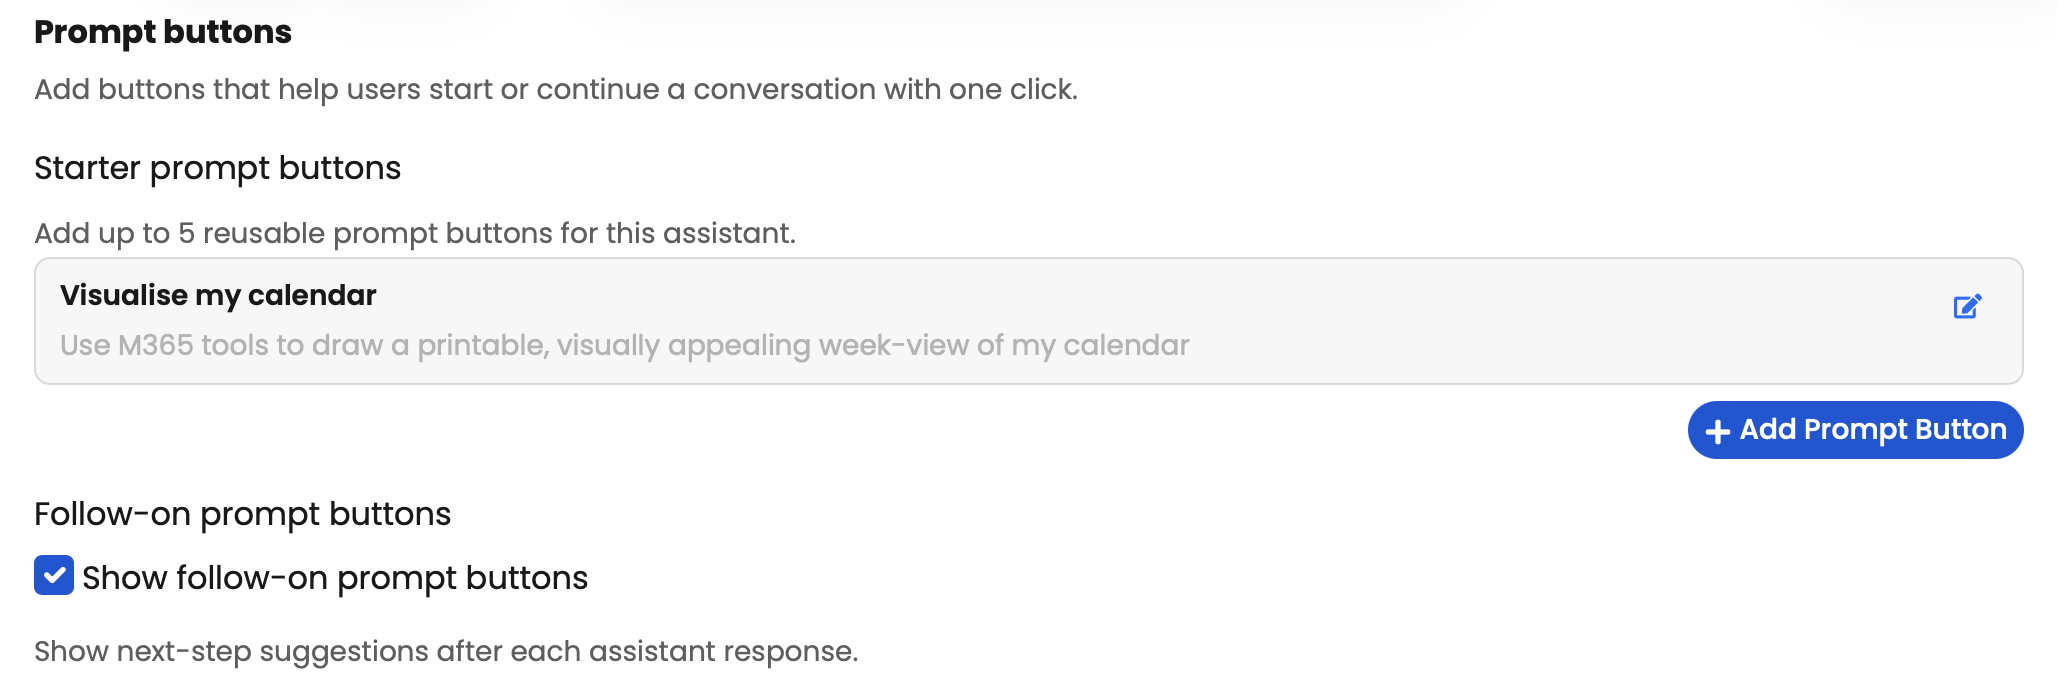
Fields in a starter prompt button
Button label
This is the text users see on the button.
- This field is optional.
- If you leave it blank, Theta Assist uses the Prompt text.
- Character limit: 100.
Use a short, clear label such as:
- Summarise this document
- Draft a reply
- Create meeting notes
Prompt text
This is the text sent or inserted when the user clicks the button.
- This field is required.
- Character limit: 500.
Use prompt text that clearly tells the assistant what to do.
Example:
Summarise the key points in this document and list any actions I need to take.
Choose button behaviour
Each starter prompt button includes a Behaviour section with two options:
- Send immediately
- Show during conversation
Send immediately
This controls what happens when a user clicks the button.
- If Send immediately is turned on, the prompt is sent straight away.
- If Send immediately is turned off, the prompt is added to the message box first, for editing. Use this option if your text includes placeholders.
Show during conversation
This controls when the button is visible.
- If Show during conversation is turned on, the button can appear during the conversation.
- If Show during conversation is turned off, the button only appears at the start of a new conversation.
Turn on follow-on prompt buttons
Follow-on prompt buttons show suggested next steps after each assistant response.
To turn on follow-on prompt buttons
- Open the assistant you want to edit.
- Go to the Prompt buttons section.
- Under Follow-on prompt buttons, select Show follow-on prompt buttons.
- Click Save.
When this setting is turned on, users will see next-step suggestions after each assistant response, for example:
Tips for writing good prompt buttons
Prompt buttons work best when they are specific and easy to understand.
- Use short, action-focused labels.
- Write prompt text that clearly tells the assistant what to do.
- Match buttons to common user tasks.
- Avoid adding several buttons that do almost the same thing.
Examples of useful button labels include:
- Summarise document
- Draft email
- Improve wording
- Extract action items
Example setup
| Field | Example |
|---|---|
| Button label | Summarise document |
| Prompt text | Summarise this document in plain English and list the key actions. |
| Send immediately | On |
| Show during conversation | Off |
After you save your changes, test the assistant to make sure the prompt buttons are clear and produce the result you expect.